Ahhh, spring is coming! That means it’s seed starting season. One of the most frequently asked questions is “How do I start?”

Here are the basic items you need:
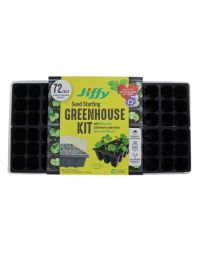
- Sterile containers: peat pots or those peat pellets are great options
- Soil-less seed starting mix (we recommend Dr. Earth, Espoma or BlackGold)
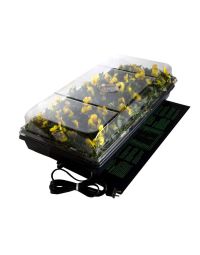
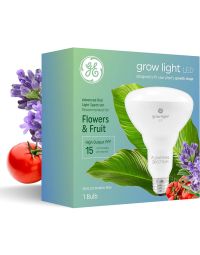
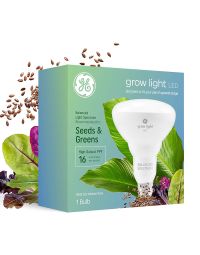
- Supplemental light
- Heat mat
- Small fan
- Seeds!
In Segment 1: Audra discusses the importance of quality seed, seed starting mixes, pre-moistening the mix and has a tip on using vermiculite.
Starting with sterile containers means the odds of bringing some disease to your seed before it even has a chance is significantly reduced.
A soil-less seed starting mix is the best planting media. Light and fluffy, it allows those seeds to wake up and stretch!
Seeds... we have plenty. The most difficult for you will be choosing.
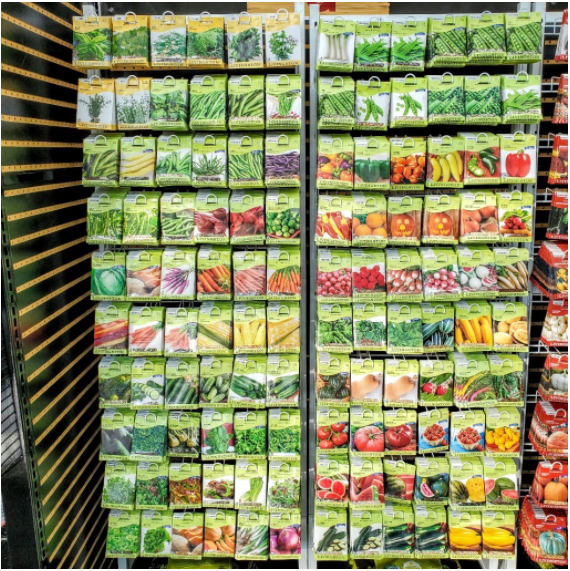
A mere sample of the huge variety we carry
THE most important thing to remember is to READ the label. There is a wealth of information on the back of those packets to help you succeed. For a more comprehensive guide to Seed Starting Indoors click HERE to the University of Minnesota Extension.
In Segment 2: Audra discusses lighting including natural and artificial, why she recommends grow lights and heat mats, humidity trays, when and how to fertilize your seedlings and how to thin them.
Supplemental light is a game changer. We just don’t have enough light in our homes at this time of year:
- Hang the lights from chains so you can raise them as the seedlings grow.
- The light should be no more than 4 inches above the tops and even as close as 2 inches.
- Plants need 12 to 16 hours of light each day.
- Don’t leave it on all the time, they need a dark period too. Amen, we all need some rest!
The heat mat has a dual purpose. It allows for faster germination and, with the heat coming from underneath, helps prevent Damping Off, a fearsome fungus that will kill those sprouts.
The fan is for later when your seeds have become seedlings. A fan lightly blowing across the seedlings for about an hour a day will help strengthen their stems and prepare them for the Great Outdoors!
In Segment 3: Audra discusses hardening off your seedlings, why you should remove the bottom of those peat pots before outdoor planting and an important tip if you’re using compressed peat pellets!
The nitty gritty:
- Read the label on the back of your seed packet! There is a wealth of information to help you succeed.
- Keep your seeds moist and warm to ensure germination.
- Cover with plastic until they germinate and use a misting spray bottle until the seedlings pop through the soil.
- After they have popped through the soil and are established, you should water them from the bottom by setting them in water and letting the plants soak up through the container's drainage holes.
- You don’t want those seedlings wet, moist is perfect.
- Planting seeds too soon can result in leggy, weak plants before it’s time to get them out in the garden.
- Be sure the soil outside is warm enough for the type of plant you’re growing. In particular, warm season vegetables like tomatoes and peppers. The label tells you the best time to start and also check the Univeristy of Minnesota's Seed Starting Guide here.
Tip: bring your seedlings outside during the day to get them acclimated to the weather, and use Bio-Tone Starter Plus for an all natural fertilizer to help enhance root development.
The experts at Gertens are always available to answer your questions!