Repairing & Seeding A Thin or Damaged Lawn
Want this...?
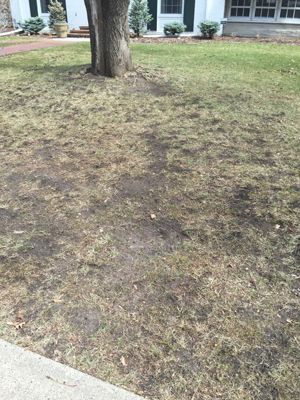
To Look like this!

STEP 1
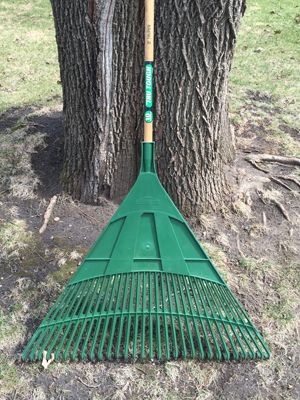
With a leaf rake, clean and remove all the loose debris and dead grass in the area you are repairing to seed.
STEP 2
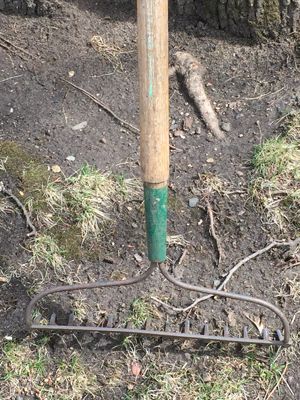
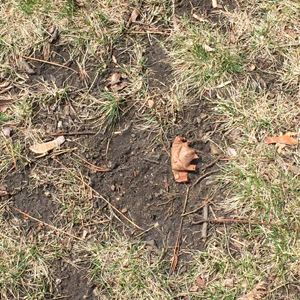
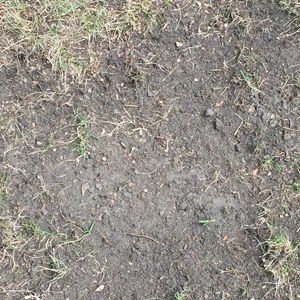
After removing the debris and dead grass, re-rake with a “short tooth” garden rake to loosen the soil to prepare the ground for seeding soil and JRK grass seed.
STEP 3
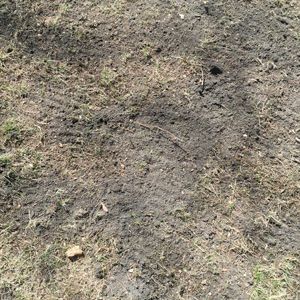
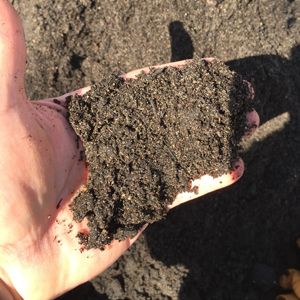
Add a light coating of Green Loon seeding soil and fill in any low spots and/or divots. You're creating a seed bed of loose soil thatwill give you good seed-to-soil contact, resulting in better grass seed germination.
STEP 4
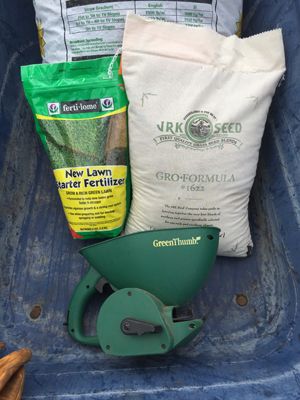
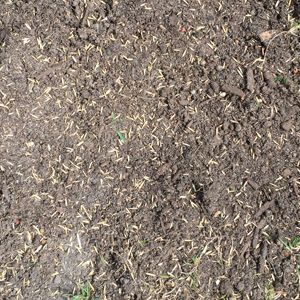
With your short toothed garden rake, turned upside down, smooth out the seeding soil. Now you're ready to apply seed starting fertilizer and JRK grass seed. Choose the type of JRK seed that best suits the part of the lawn you're repairing. Use a lawn fertilizer spreader or hand spreader to apply the starter fertilizer and your JRK grass seed.
You can do these steps one after the other without being concerned that the JRK grass seed and fertilizer make contact as the fertilizer will not harm the seed. Lightly rake seed and fertilizer into soil with your short tooth rake. Remember better seed-to-soil contact equals better germination.
CAUTION: Do not cover seed with more than ¼ inch of soil or it will not germinate. It's perfectly fine that much of the seed is visible after raking. (See photo)
STEP 5
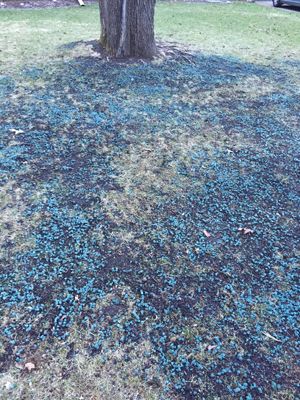

An easy way to keep soil moist is to add a seed cover pellet such as “Cover Grow”, Penn Mulch, or a seeding blanket.
Cover Grow pellets used in these photos.
STEP 6
Water the covered seed bed with a sprinkler or a soft spray nozzle in order to thoroughly soak, (but not to the point of run-off) the area. Be careful not to cause erosion or ruts from over watering. Repeat watering daily until grass seed has germinated and the grass is tall enough to require mowing.
