Step 1: Gather the items needed
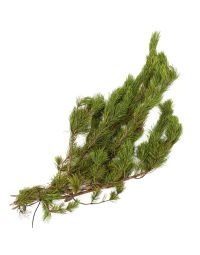
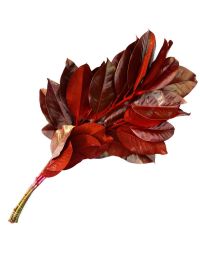
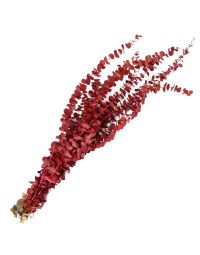
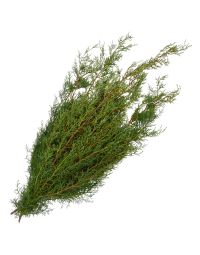
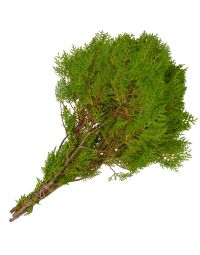
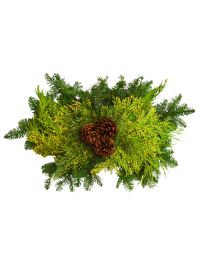
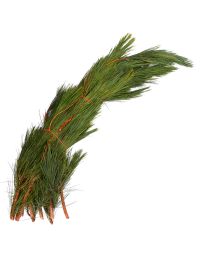
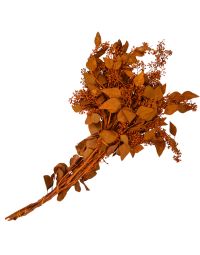
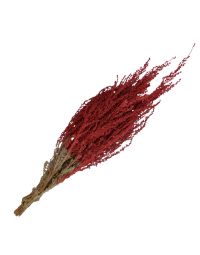
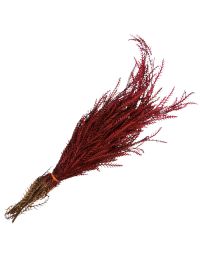
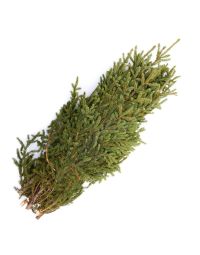
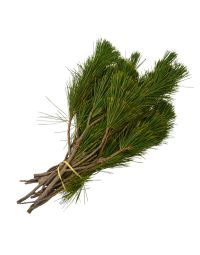
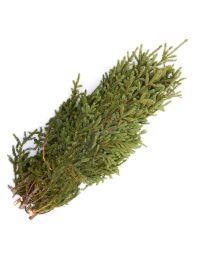
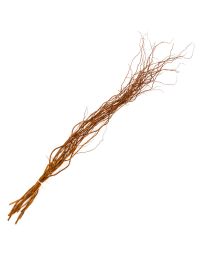
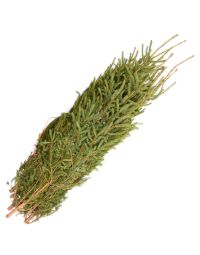
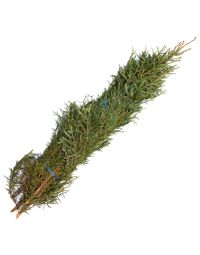
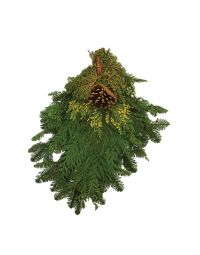
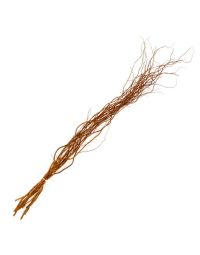
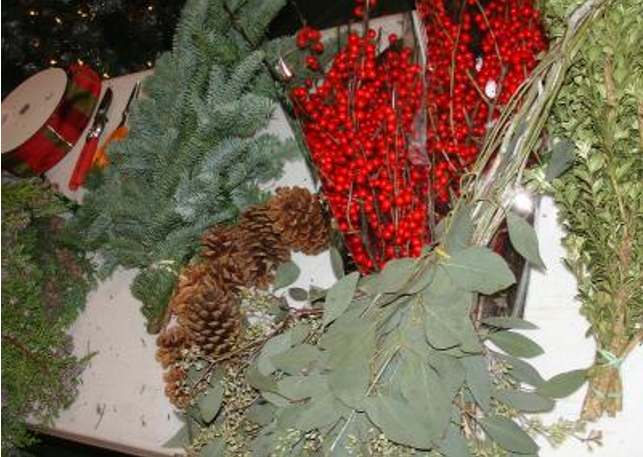
Collect all the items you'll need. Three or four types of greens will provide structure, texture and fragrance, colorful berries for accent, along with some ribbon and pine cones. You'll also need a pruner and scissors.
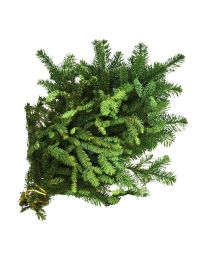
Step 2: Select a piece of Noble Fir
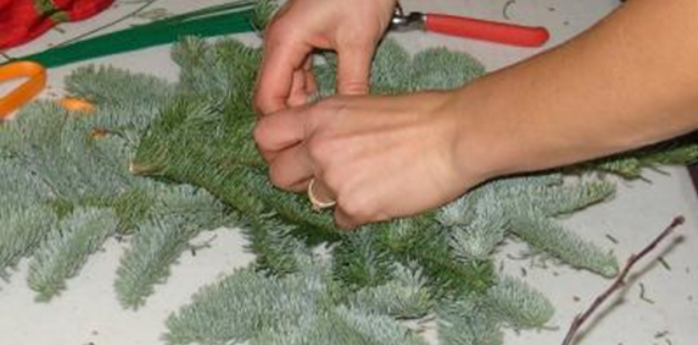
Select a piece of Noble Fir with a strong straight center. Corrine likes to work toward a tear-drop shape with the rounded end at the top and narrow tapered point toward the bottom.
Step 3: Add in a second piece
Even if your first base piece doesn't have exactly the right shape, you can add in a second piece to fill in the gaps of your base tear drop shape. Tie each additional layer on with a loop of florist's wire. Give it a couple of twists as tightly as you can, then fold over the sharp end into a loop, which you can then push to the side and lay flat without any sharp edges.
Step 4: Layer with smaller pieces
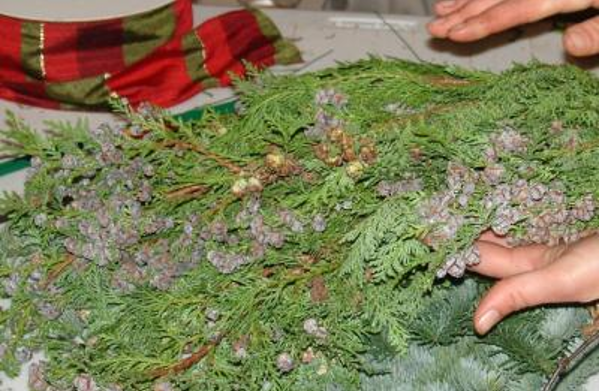
Layer smaller pieces of Incense Cedar boughs on to the base. The cones are covered in wax that turns blue when it turns colder! Oregonia holds up better than boxwood or holly in cold temperatures and adds yet more texture. You can add even more texture with Eucalyptus which brings the bonus of a great scent too!
Step 5: Push a U-shaped florist wire through each of the layers
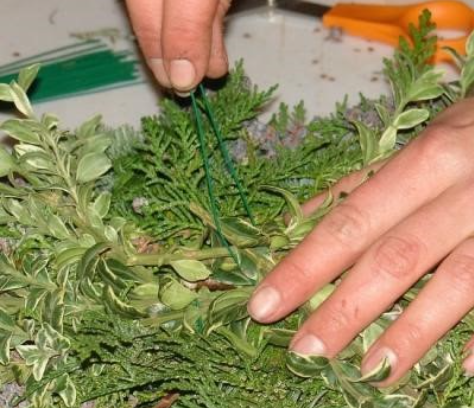
Push a U-shaped piece of florist's wire through each of the layers to attach everything to the Noble Fir base. Pull the wire tight and twist as firmly as you can, then bend in the sharp edges. Do this, pushing wire all the way through, each time you add a new layer.
Step 6: Add in stems of winter berry and different sized cones
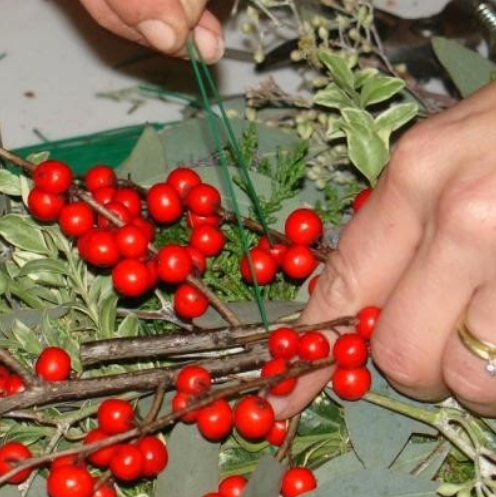
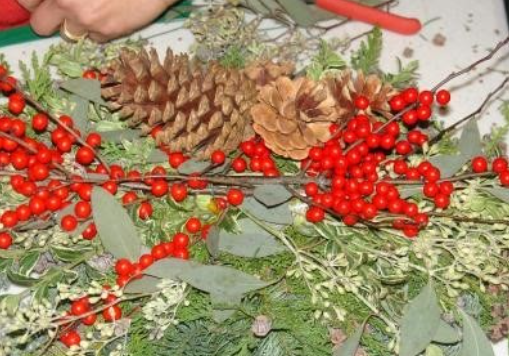
Add in a couple stems of brightly colored winter berry, with a shorter one toward the top. Be very careful and take your time when separating each piece from its bundle so you don't strip off all the berries. Add a couple of different sized cones. Smaller cones should float toward the top and can be twisted together with wire and added all at the same time. Larger cones should sink toward the bottom and can be added with wire individually.
Step 7: Add your bow
- Measure the end of your bow, fold the ribbon in half and cut at an angle to make its tail
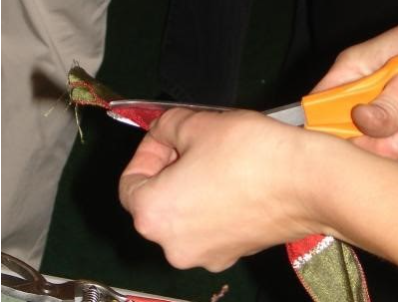
- To make a bow, measure the tail, pinch it between your thumb and forefinger, give it a half-twist, flip it over to make the button and grab it with your thumb and forefinger. Then start your first loop and continue back and forth making loops, squeezing each one between your fingers
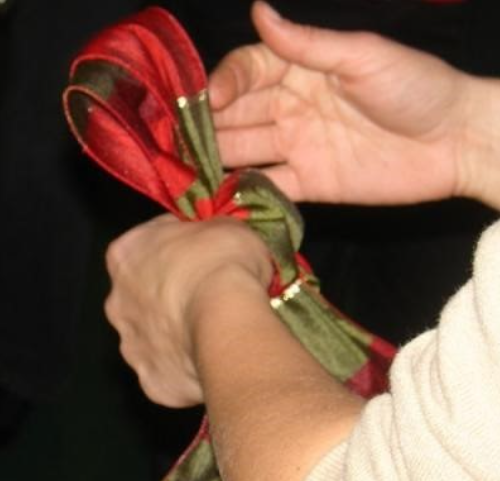
- Two loops on each side is generally enough and won't be too big. Take a piece of wire, put it through the button under your thumb and tighten it on the back.
Step 8: Final Touches
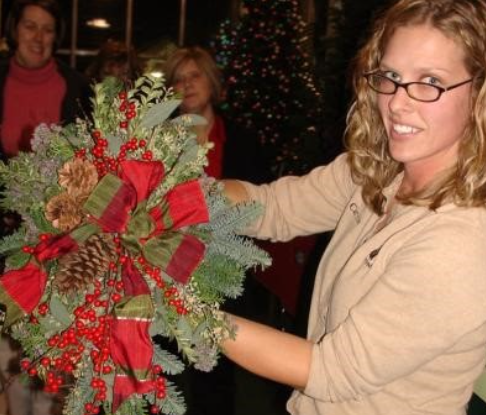
Insert a piece a wire for an hanging loop around the backbone of the base, make a loop, twist all the ends together and push to the side so you don't have any sharp edges. With a little creativity and some florist's wire, you should be able to create your own unique holiday door swag with your favorite greens in about 30 minutes.
The Gerten Experts are always available to answer your questions!


